How to make wood burned clock
With Pyroprinter machine
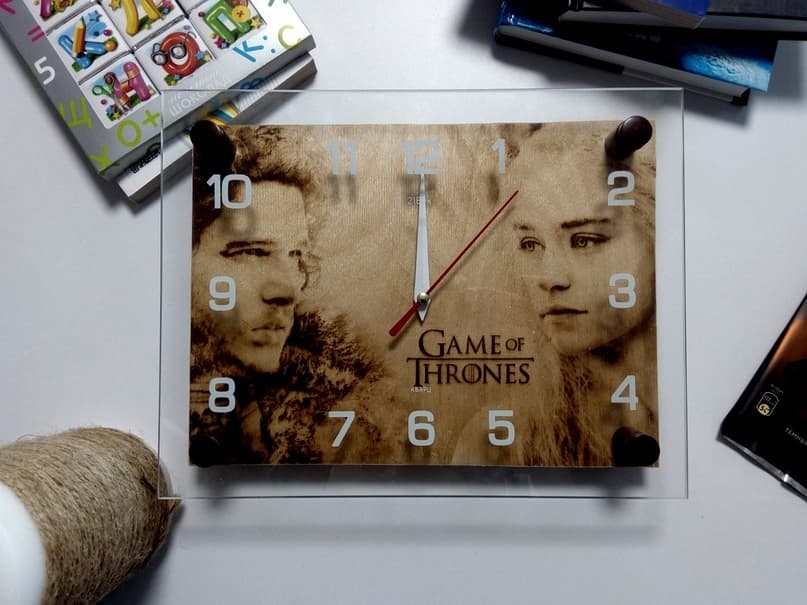
We bought this ready-made watch in a store for $ 4.

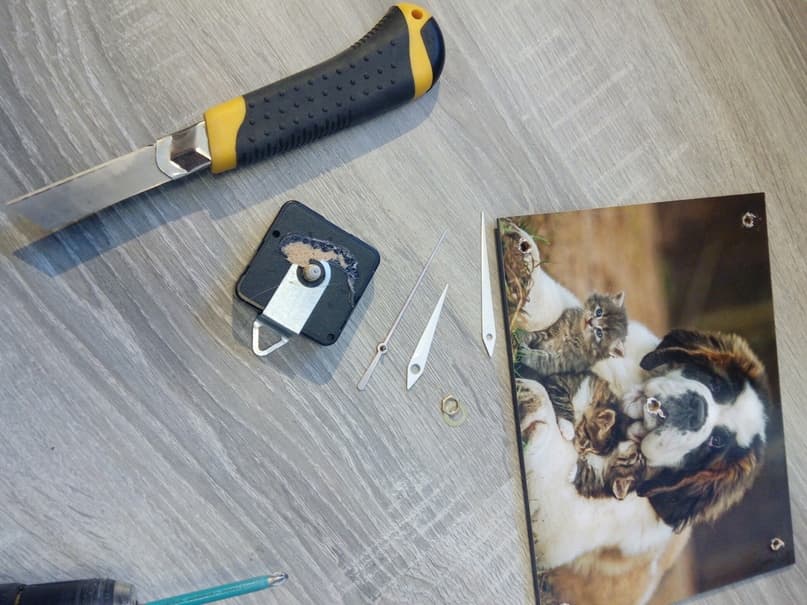
After that, we unscrewed all the fasteners with a screw driver.
Here’s what we got.
You do not have to torture the clock; instead you could buy a separate clock mechanism and holders for glass. But the finished watch was cheaper for us than buying the necessary spare parts separately.
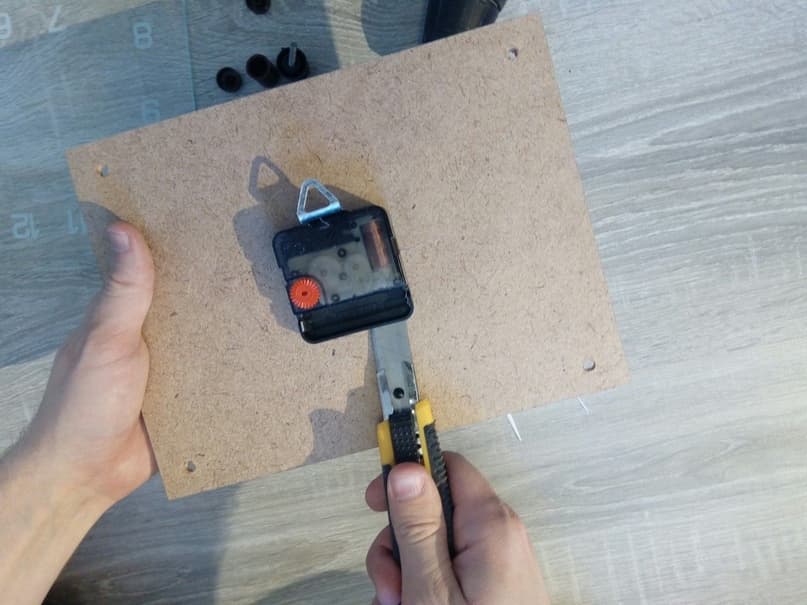
The clockwork was well glued to the cardboard. I had to cut the glue off with a utility knife
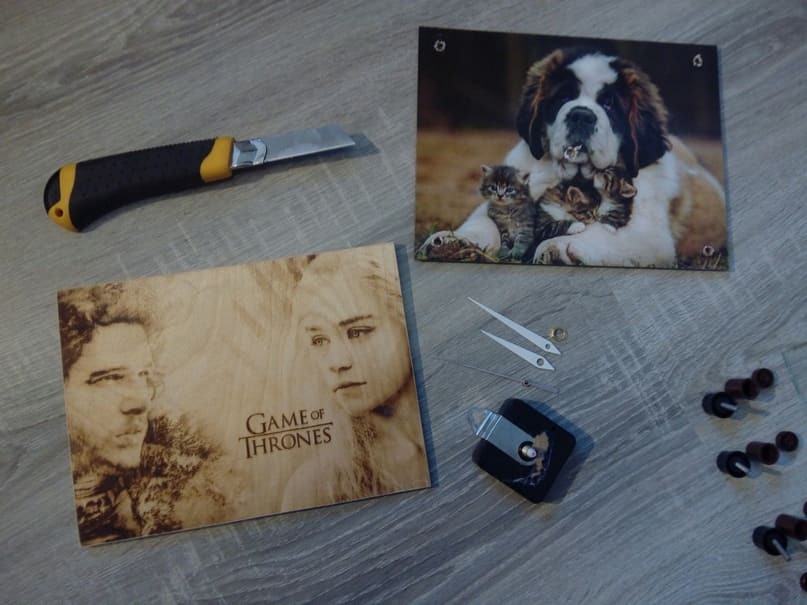
Ready-dial separately, pictures separately
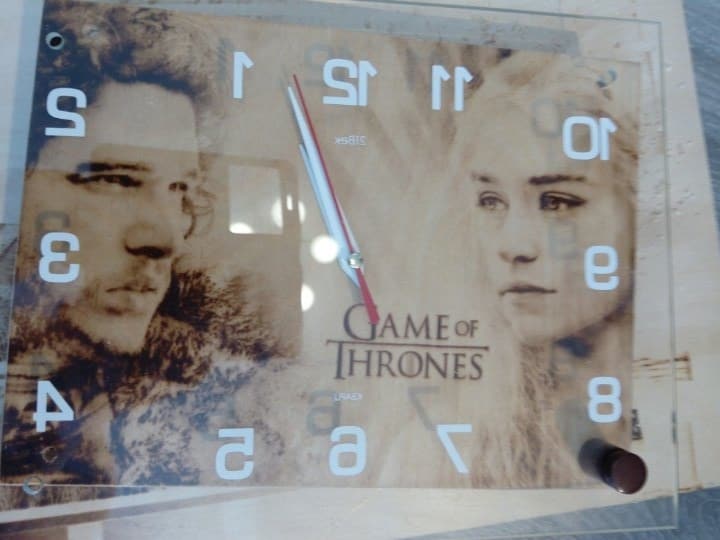
We have already prepared the final picture in Photoshop and burned it on CNC burner Pyroprinter.
We forgot to take a picture of the burning out process so hopefully no one is upset about it. For more information about how the Pyroprinter works see this page.
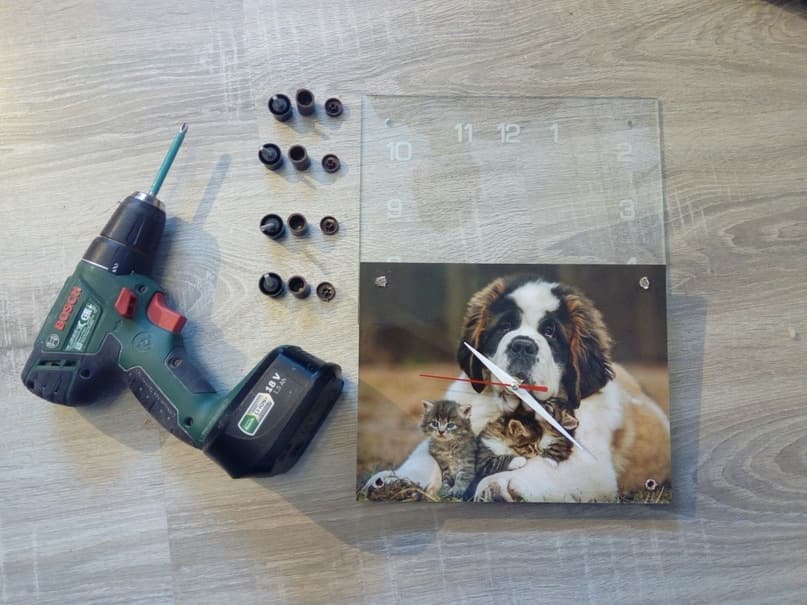
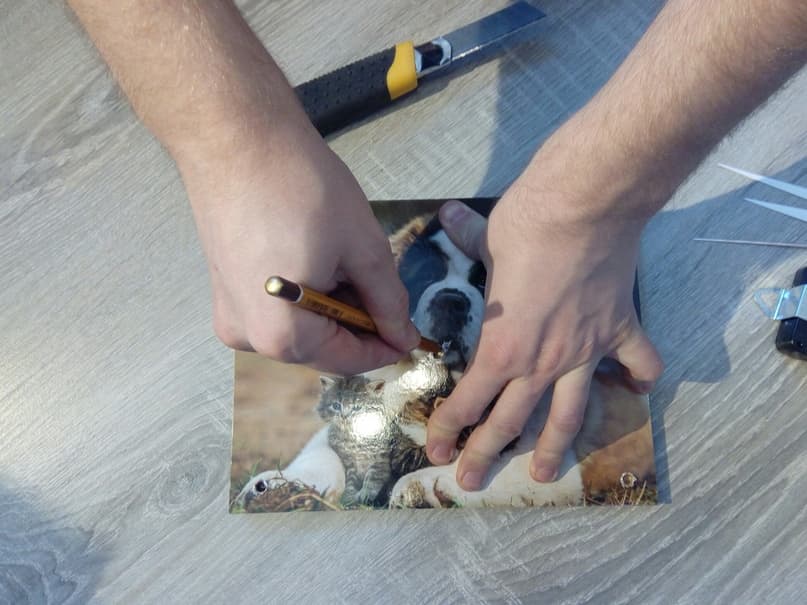
We need to mark where the holes will be on the burnt plywood. We put a picture of a kitten and dogs as a template on our plywood. Then marked with a pencil where you will need to make holes in the future

In the center there will be a hole for fixing the hands of the clock.
In the middle of the dial, you will need to make a larger hole, that is, we select two drills of the desired diameter

Take a drill on a tree of the desired size

In order not to make mistakes with the size of the hole, you can check the drill by inserting it into the hole in the original image.
If you have a compass rod at hand, you can use it.

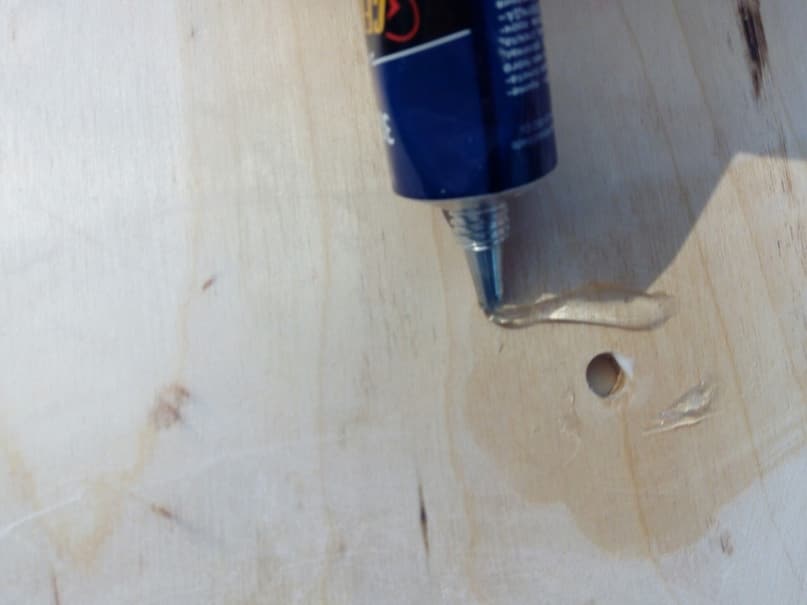
It is better to drill the hole from the front side, then there will be no chips on the image

This work was waxed

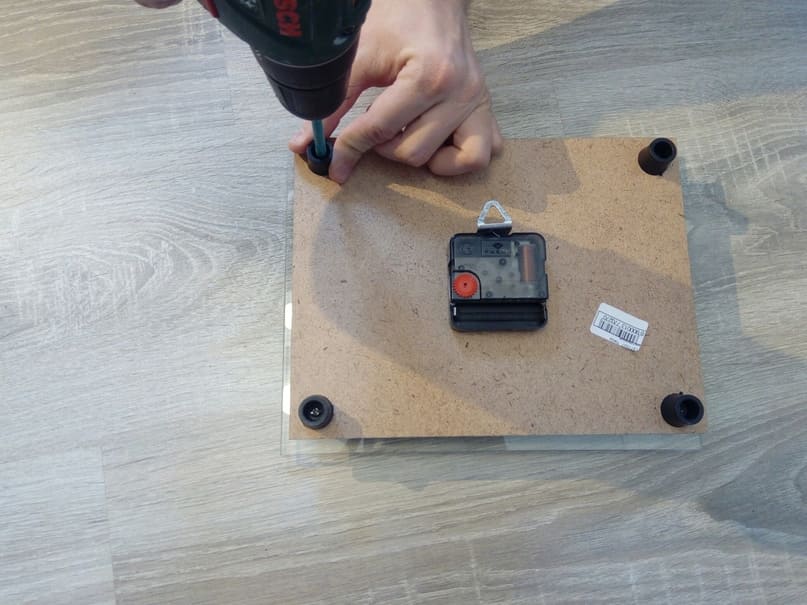
Glue glued the mechanism to our plywood. Since plywood is thicker than cardboard, it is better to take a mechanism with a long spindle. Well, or you can take a thinner plywood – for example, 4 mm thick (1/6 inch).
Oops! Screwed on the wrong side. Let’s turn it over
Done!